How to Clean a Water Softener Resin Tank
In a water softener, the resin tank is where most of the water softening takes place. Minerals such as iron, magnesium, calcium, etc. can attach themselves to the resin tank wall. This results in the water becoming harsh as the resin tank does not work properly.
If you have to rely on hard water to do your daily chores, then you need to restore the efficiency of the water softener system. In such cases, the resin tank must be cleaned regularly.
Though most softener units follow the same steps for cleaning their resin tank, there might be some differences based on the brand and model. The best thing would be to follow the instruction manual provided with your system.
Read the guidelines of your particular brand thoroughly. Additionally, you can follow the step-by-step instruction on how to clean a water softener resin tank given below.
As an Amazon Associate we earn from qualifying purchases.
Step 1: Choose a Suitable Resin Cleaner
The first step in effectively cleaning your resin system is to choose a cleaner. Make sure that the chemical cleaner is capable of replacing the residual minerals in your tank. Certain cleaners focus on removing a particular mineral buildup.
For example, if you feel that your tank has more of an iron residue, then you should buy a cleaner specifically for removing this mineral. In other cases, you can go for more of an all-rounder chemical cleaner that helps remove all mineral residuals.
For an inexpensive solution that gets fantastic reviews, check out this cleaner.
Be sure to switch off your water system and not use it before you start with your cleaning process.
Step 2: Pour the Resin Cleaner Into the Water System
Once you have switched off the system, you can pour the recommended amount of resin cleaner in the tank. If this is your first time cleaning the water softener system, then you can follow the instructions given on the package for the amount needed.
Remember that pouring too much or too little of the cleaner will not help in doing the work effectively. Feed the cleaner into the brine tank of your system. If your water system does not have a brine tank, then you can pour the resin cleaner into the salt tank.
Step 3: Set Your System to Regeneration Mode
Find the regeneration control knob positioned on the control valve. Turn the knob counterclockwise with the help of a flathead screwdriver. This action will put your system to regeneration mode, which will, in turn, regenerate the resin bed manually.
In this mode, the flow of the water is reversed so that any debris or chemicals that are stuck in the system are removed. Furthermore, there will be a release of a sodium ions solution, which will help in cleaning the resin beads.
Step 4: Repeat the Process
The regeneration process would have to be repeated if you want to get the desired results. To do this, you would again have to fill the brine tank or the salt tank with the correct amount of resin cleaner.
Once done, repeat the regeneration process manually so that the leftover mineral residue can be eliminated from the system. In case the resin bed is still filled with any unwanted mineral, you can run this process again.
Make sure that the resin tank is completely clean before you move into the next process. Keep running the regeneration process until you are sure that you have a clean resin tank.
Step 5: Flush the Water Out
After you are done cleaning the tank, you have to turn the control knob clockwise so that it returns to normal. You need to do this before flushing out the water from the tank. Find the nearest tap to your system and keep it running for 10 minutes.
This will rinse the cleaner left in the system and also any particles present in the tank.
Step 6: Repeat the Overall Process Every Week
The best way to keep your resin tank clean is to follow the cleansing process every week. During the summer months, it is better to do the cleaning frequently since water is used more during these times.
During the winter season, when you use less water, you can carry on with the cleaning every two weeks or even once every month.
Summing Up
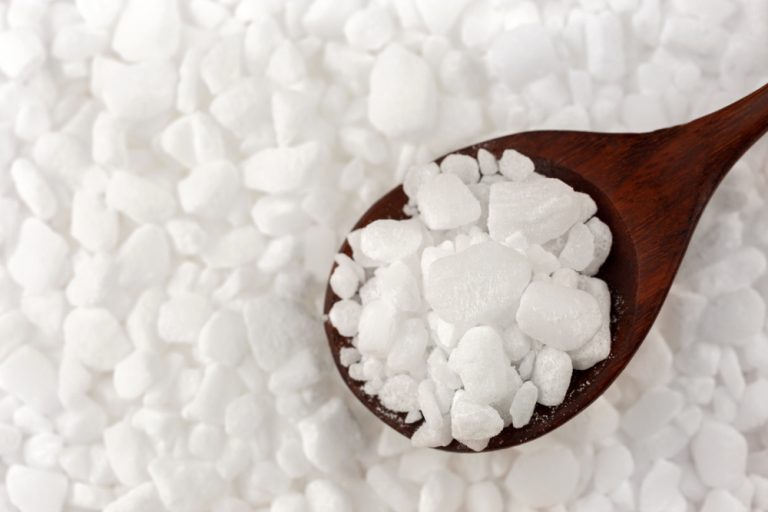
After you finish the overall process, do not forget to put the water softener salt in the resin tank. Make sure that the salt is not filled to the brim. There should be at least a six to seven inch gap from the top of the tank.
Keep track of the water quality after you have cleaned your resin tank.
If you are unable to carry out the cleaning process, then you should seek help from an expert. If your water softener brand has a complicated system, then it is better not to try and clean it yourself.
If you are unsure whether you have carried out the cleaning process properly, contact your local water technician to get it checked out.